
In this tutorial, you need some knowledge of reacting, but you don't have to be an expert, just basic knowledge is enough to get started.
The objective is to get the app running, then we will style it.
Let’s begin!

Create a directory for the react application
The frontend application directory can be accessed by navigating to it.

It happens that we won't use a lot of files from the frontend directory when developing our react application.
Public Folder
The index.html file is important here. You can remove all the other files.
Don't forget to remove the links to the manifest.json and logo files inside the index.html file.
src Folder
In the src folder, you need to delete all but the index.js file. In the src folder, you need to create two new folders: components and CSS.
Create the following files inside the components folder.
App.jsx Notes.jsx and List.jsx in the CSS folder, and index.css in the components folder.
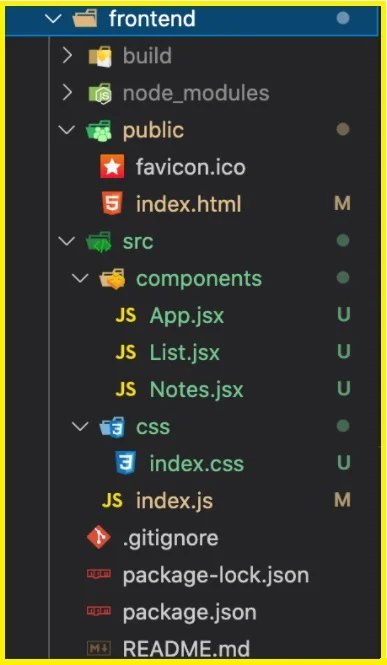
Currently, the frontend directory should look like this:
index.js
As we won't be using the webvitals import or the webvitals function, remove them from the file.
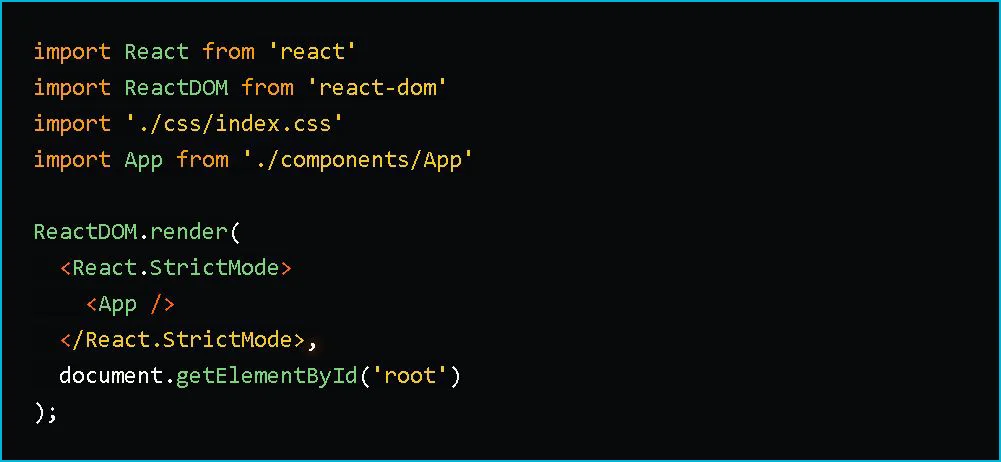
Our App.jsx component's location has changed, so we must change the path to the App import to it.

CSS import and that of


The index.js file should look like this
The Axios JavaScript library will be needed to communicate with the API endpoints on the Django server backend.
To begin, we'll use npm to install it:

package.json
Next, open the package.json file and insert the proxy line below the "private": true, line, so it looks like this.
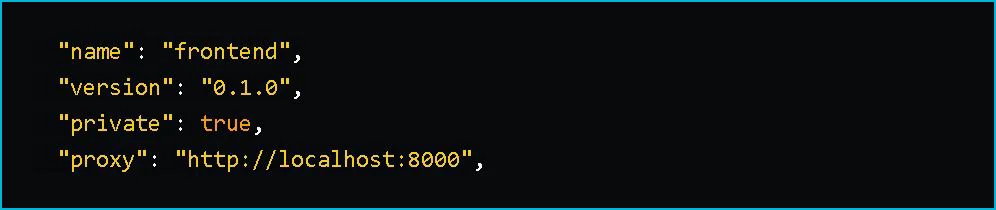
You will be able to use relative paths when making API requests as a result of this.
Instead of using http://localhost:8000/notes/, you can simply use /notes/.
It appears to be a fantastic idea, doesn't it?
You'll get to see it in action soon. Let's get started on the component files.
List.jsx
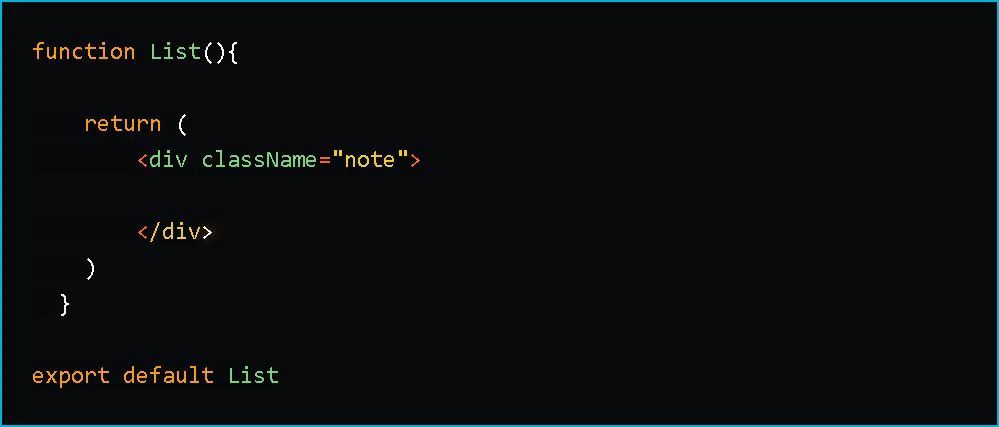
To begin, consider the List component.
We won't be doing much here for the time being; all we need to do is declare and export the function.
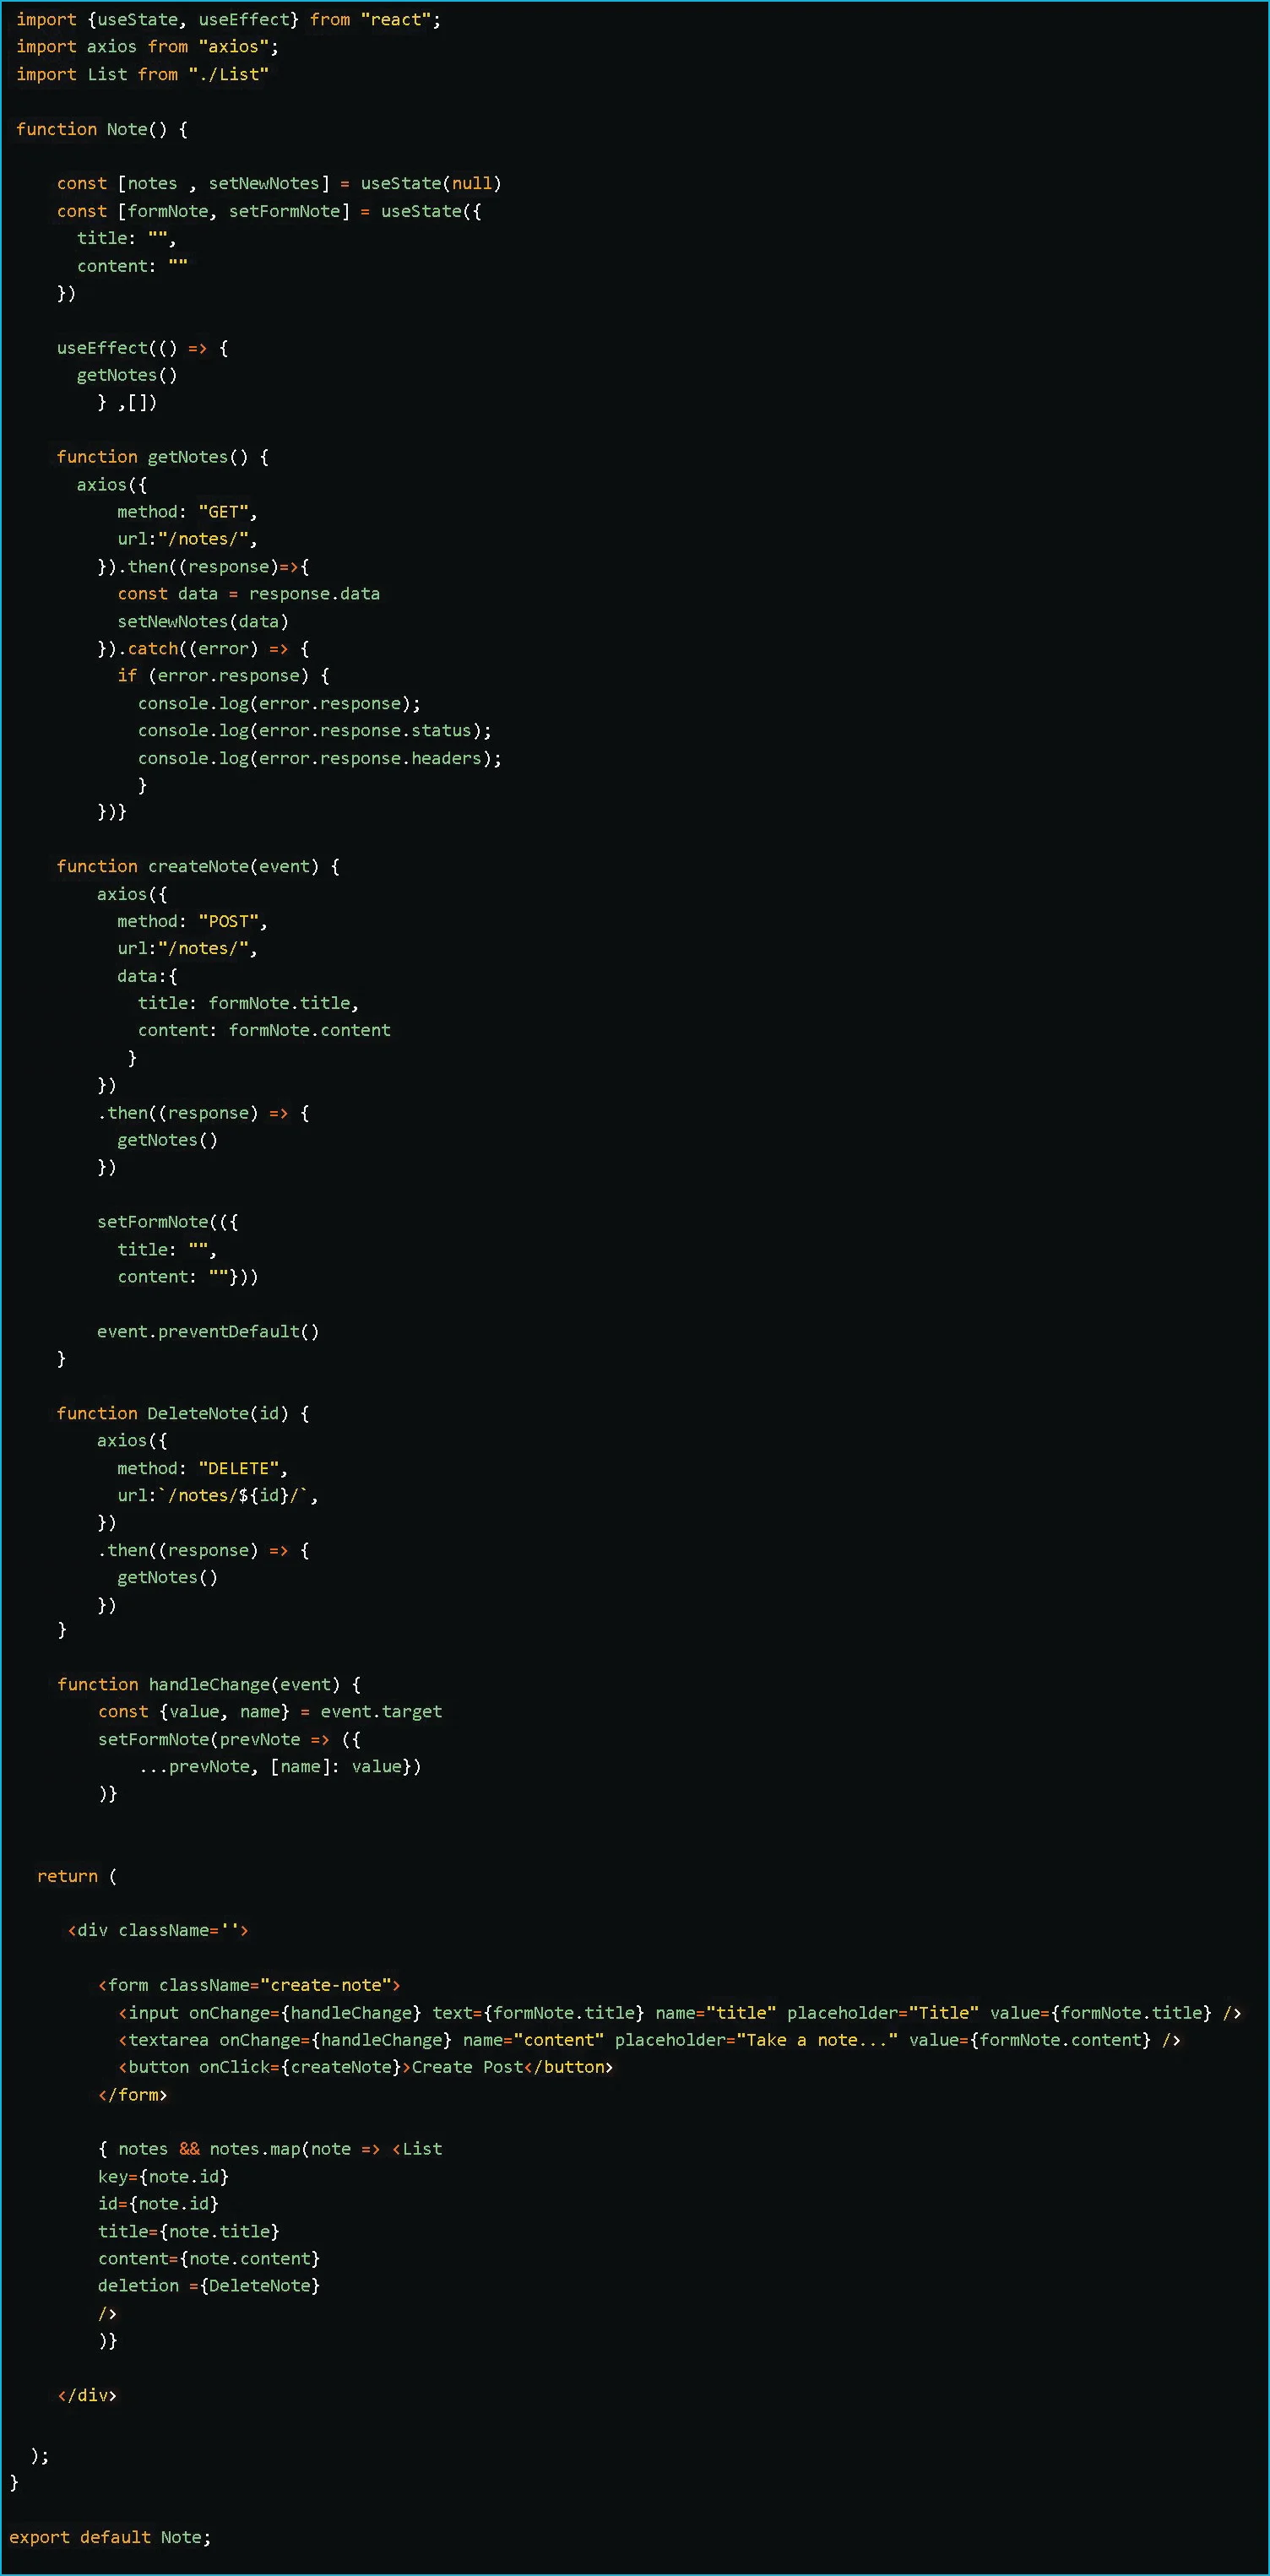
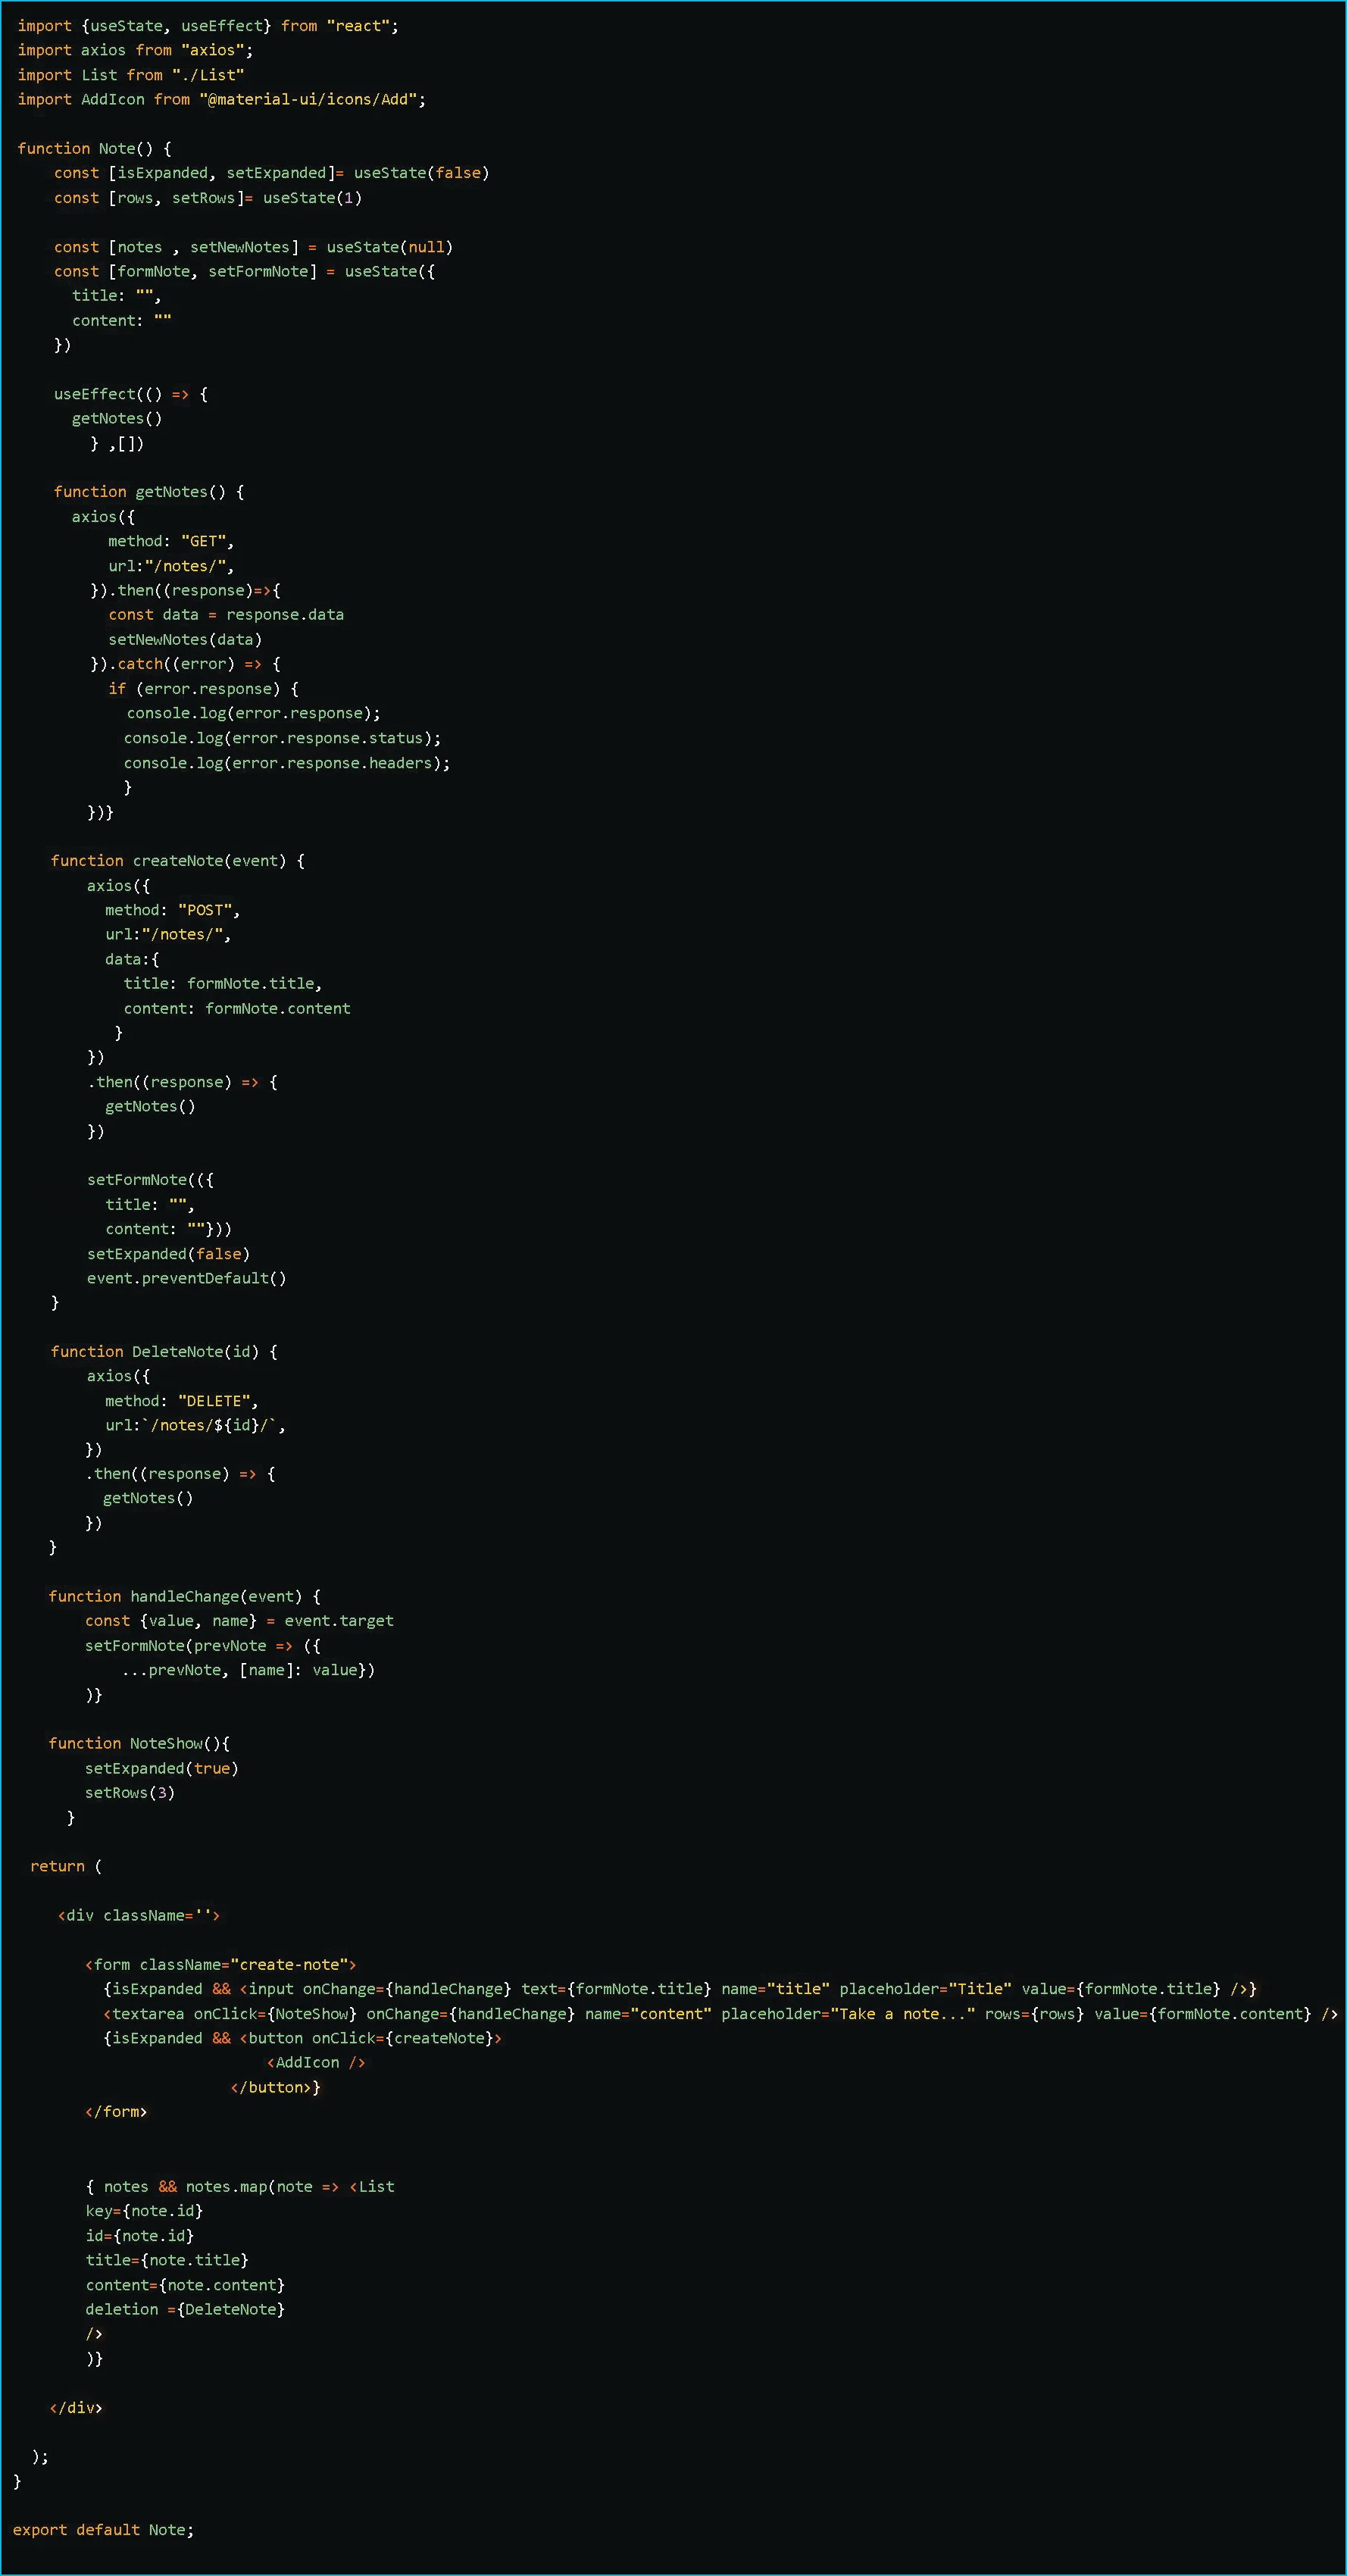
Notes.jsx
We begin by importing the necessary hooks, useState, and useEffect.

useState
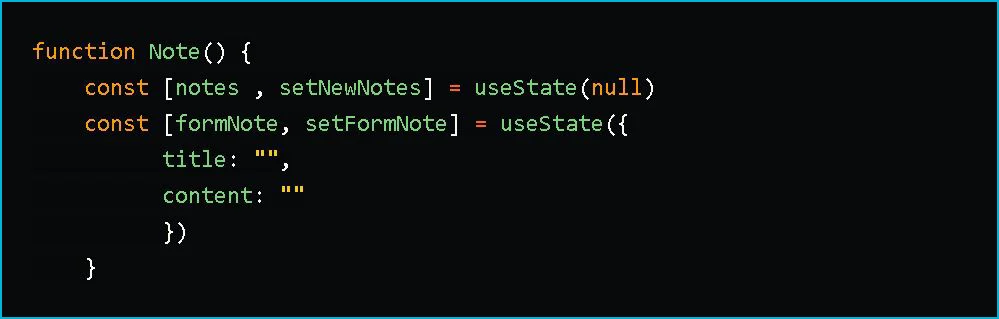
Following that, we'll write the Note function, which will make use of the useState hook.
The state variable is declared as notes with an initial state of null in the first line.
The second line handles the form data's state.
Here, we declare the state variable as formNote and set its initial state to empty strings.
Please keep in mind that every other function created below should be contained within the Note function above.
useEffect
This useEffect hook will also make sure the getNotes function is called right after the render has been displayed.

You can pass an empty array ([]) as a second argument to prevent the function from running in an infinite loop.
Therefore, React doesn't need to rerun the effect because it doesn't depend on props or state.
GET API function
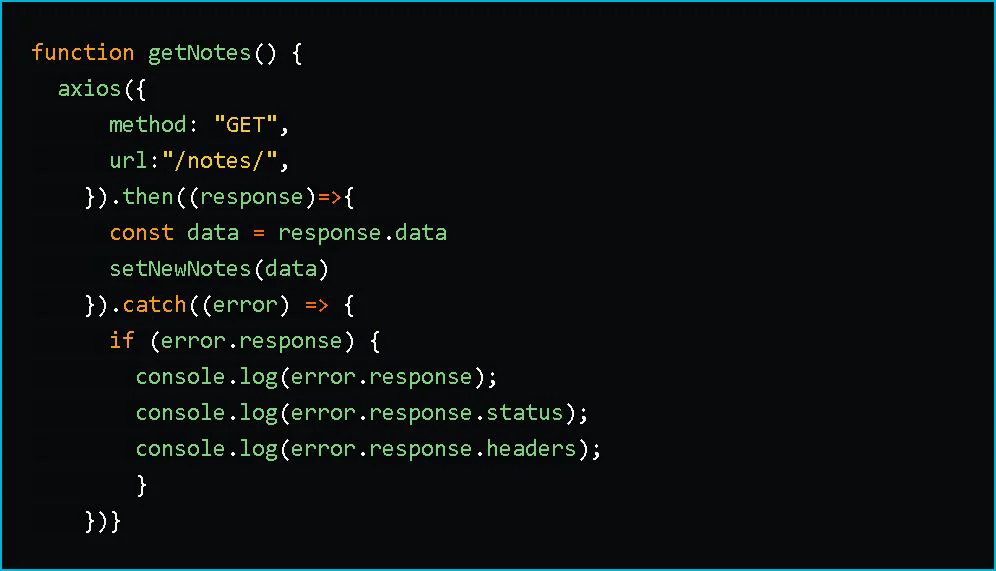
This request method type is getting, and the URL is the relative path /notes/.
In the package.json file, "http://localhost:8000" was not added.
The URL here has to be "http://localhost:8000/notes/".
The way we did it made the code cleaner.
A GET request with Axios prompts the setNewNotes function to write the data in the response, and this updates the notes state variable with a new state.
This results in the value of the state variable changing from null to the data contained in the response.
Lastly, a function is present to handle any errors that may occur during a get request.
POST API function
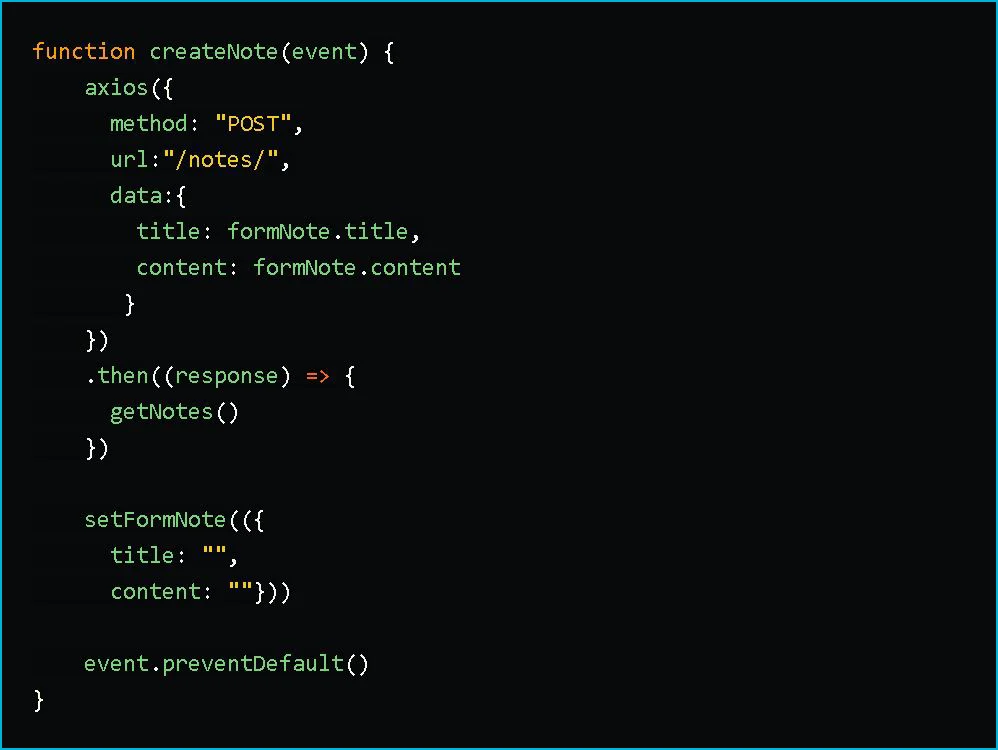
Bypassing /notes/ as the URL, we are declaring the request method type as POST.
Data is also part of our request.
The data will be sent to the backend for processing and storage in the database.
Inputs from the title and content fields will be sent to the backend for processing.
The response to the POST request with Axios is not processed we simply use it to query the getNotes function so that the previous notes will also be displayed with the new note.
Then we use the setFormNote function to reset the form inputs to empty strings.
Also, we need to ensure that the form submission doesn't cause the page to reload, so we add the event.preventDefault function which prevents that from happening.
DELETE API function
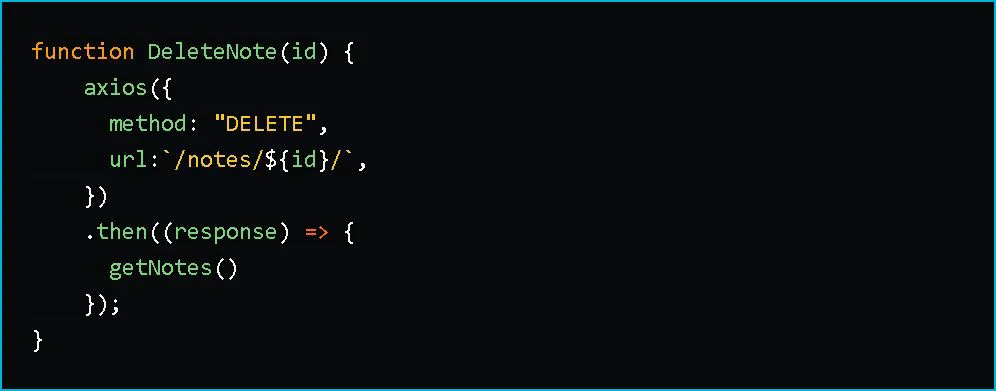
In the function, we include the id parameter so we will be able to pass it as an argument, later on, to delete the particular note.
We don't process the response from the DELETE request when it's made with Axios; we just call the getNotes function using the response function so that the notes get method can get executed again and we'll be able to see the remaining notes.
Form Input Change
This code ensures that the input is controlled, so we can handle the changes appropriately.
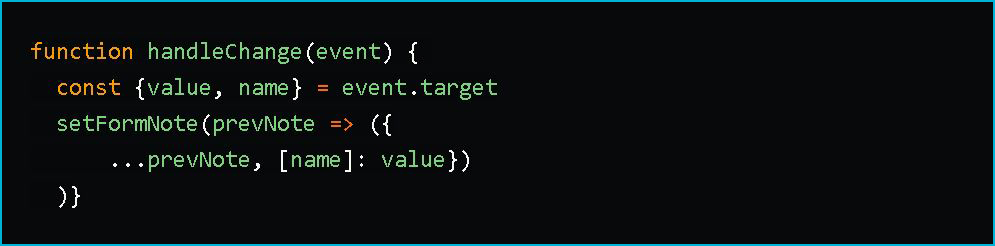
The function tracks all changes to the form inputs and updates/deletes them as needed.
You won't be able to see what you're typing in the form input fields if you don't use this function, and the values of your input data won't change.
We change event.target to get the value and name, then we use the spread syntax to keep the previous input's value, and finally, we assign a new value to the specific input being operated on.
return
As the output of the Note function, we now return the React elements to be displayed.
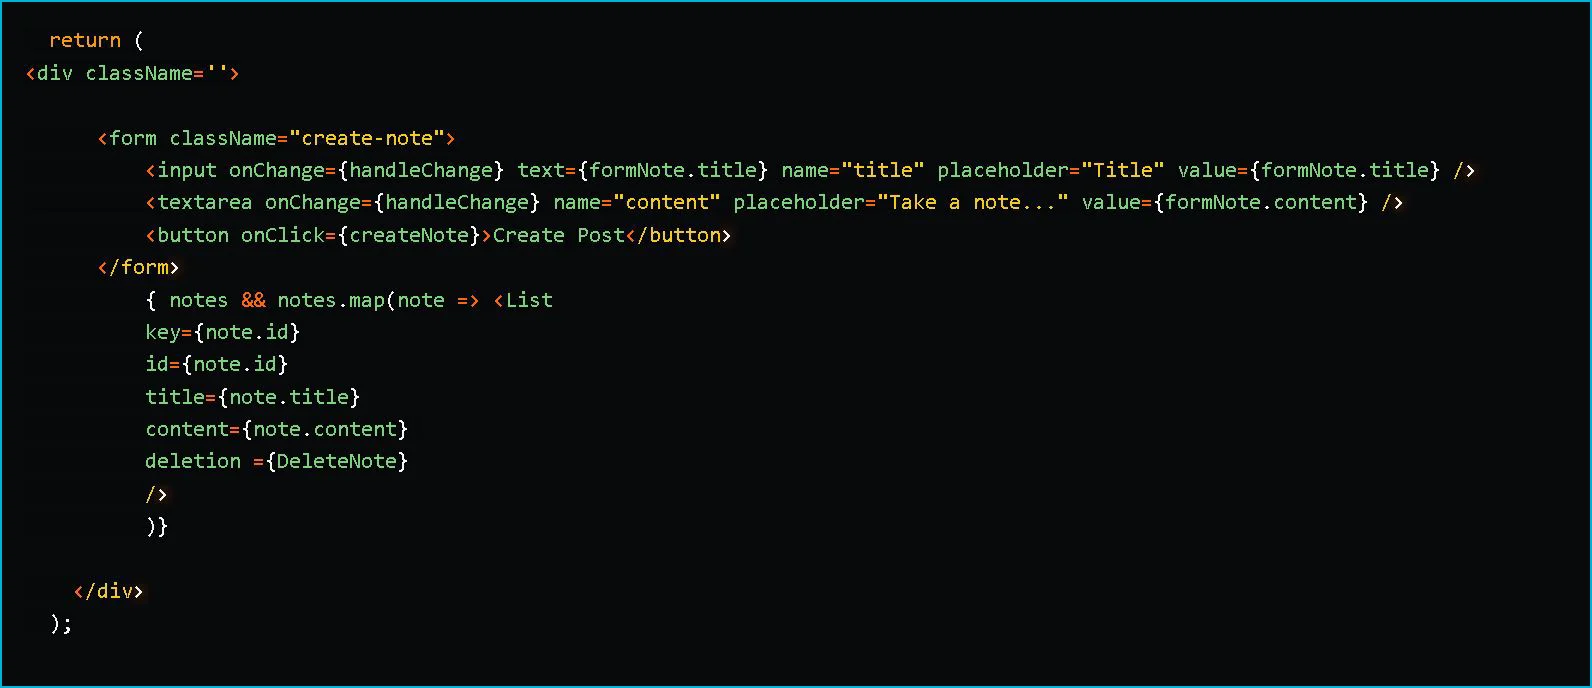
We include the input and text area elements in the form.
Then we add the onChange event handler, which calls the handleChange function whenever any of the input fields are changed.
Then, before rendering the List component, we must first confirm that at least one single note was recovered from the database in order to avoid passing void data to the List component.
If notes were successfully retrieved using the GET function, we pass the data's content (id, title, content) as well as the delete function to the List component.
Finally, remember to export the Note component so that it can be used in the App.jsx file.

The Notes.jsx file should now look like this.
List.jsx
We must now return to the List.jsx file to complete the List component.
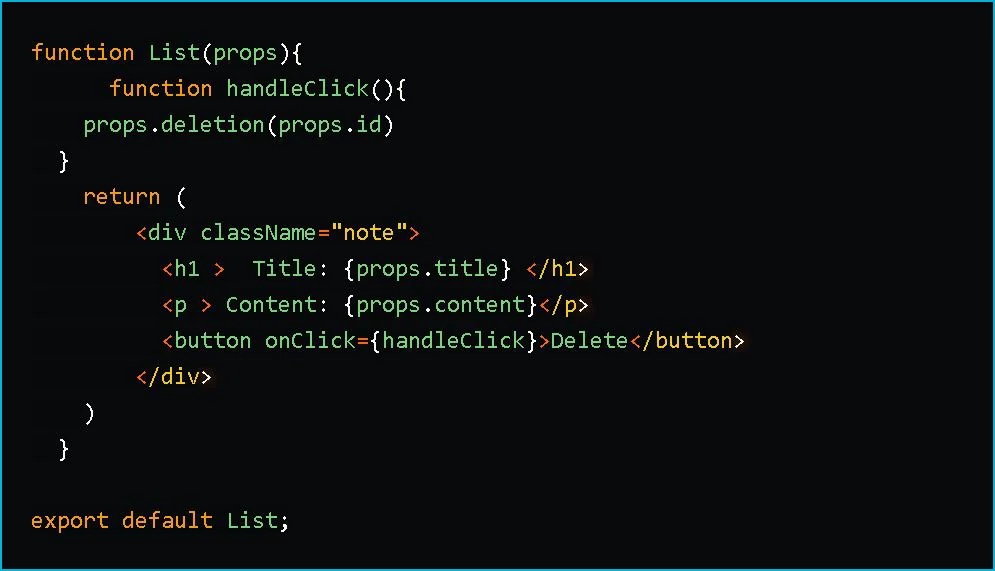
We use props to access the data sent from the Note function, which gives us access to the note's title, content, and id.
We pass the id to an onClick function, which calls the delete function in the Note function with the argument id.
Please keep in mind that if you directly pass the delete function into the onClick function, the delete function will run automatically and delete all of your notes.
The delete function could be passed into a function called by the onClick function, as we did above.
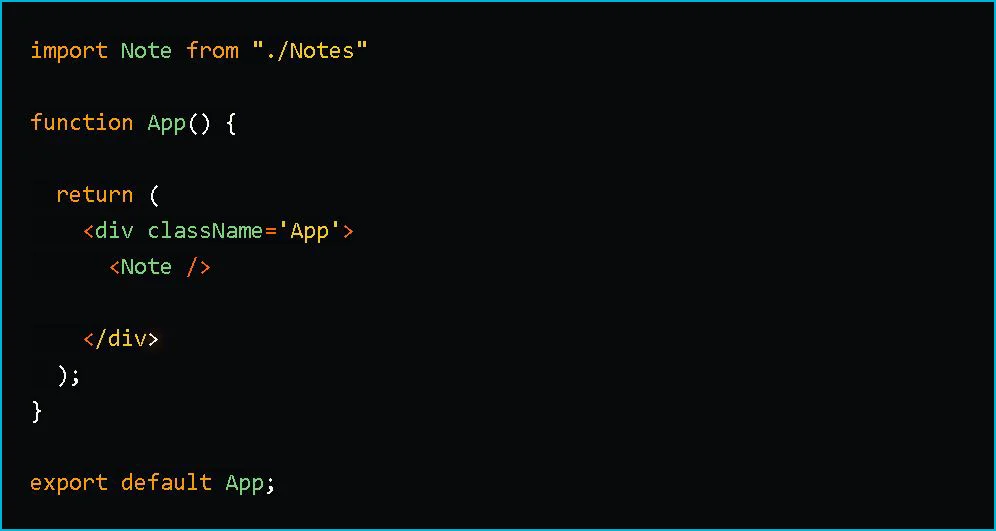
App.jsx
Let us now add the Note function to the App.jsx file.
Run the following commands to evaluate the application's current state:

then go back to the project1 directory where the manage.py file is located.

At last, we run:

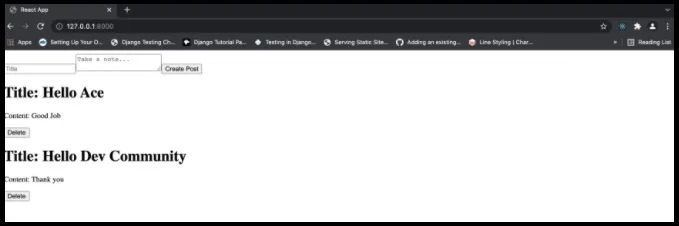
Here is a screenshot of the fully functional application.
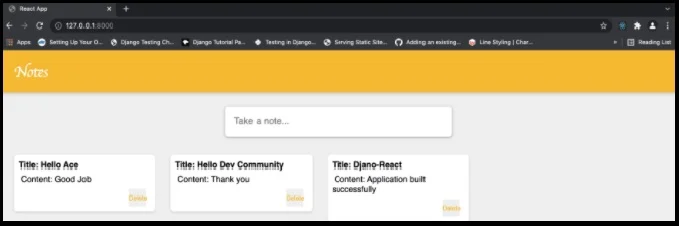
Styling
The final step in this tutorial is to style the Notes application so that it looks like this.
Go back to the frontend directory.

Material UI icon
To obtain the + icon, you must first install the material UI icon. Run:

Notes.jsx
AddIcon from the installed material UI icon package is imported into the Notes component.

We'll use useState hooks again to hide the text input and add button until the text area input is clicked.

Depending on the state, the first line shows or hides the text input and add button (false or true).
The state variable isExpanded is declared here with an initial value of false, so that the text input and add button are hidden when the page loads.
The height of the text area input is determined by the second line.
The state variable is declared as rows with an initial state of 1.
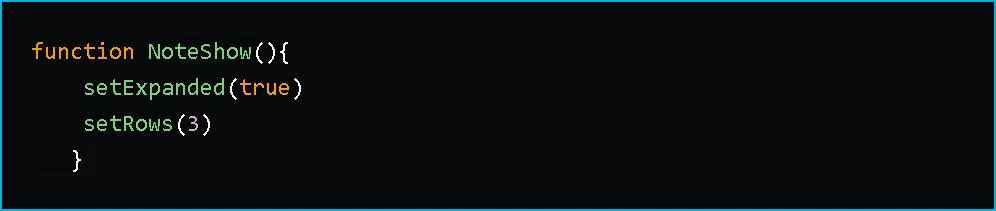
Following that, we create a new function Noteshow that is called when the text area input is clicked.
Let us also make the necessary adjustments to the form inputs.

As previously described, the isExpanded condition is added to the text input and button.
The NoteShow function is called when the textarea input is clicked, and two things happen.
1. With the argument 3, the setRows function is called.
which sets the rows attribute of the textarea input to 3, thereby increasing the textarea input's height.
2. With the argument true, the setExpanded function is called, which changes the state to true and then displays the hidden components.
Lastly, at the end of the createNote function, we include setExpanded(false).
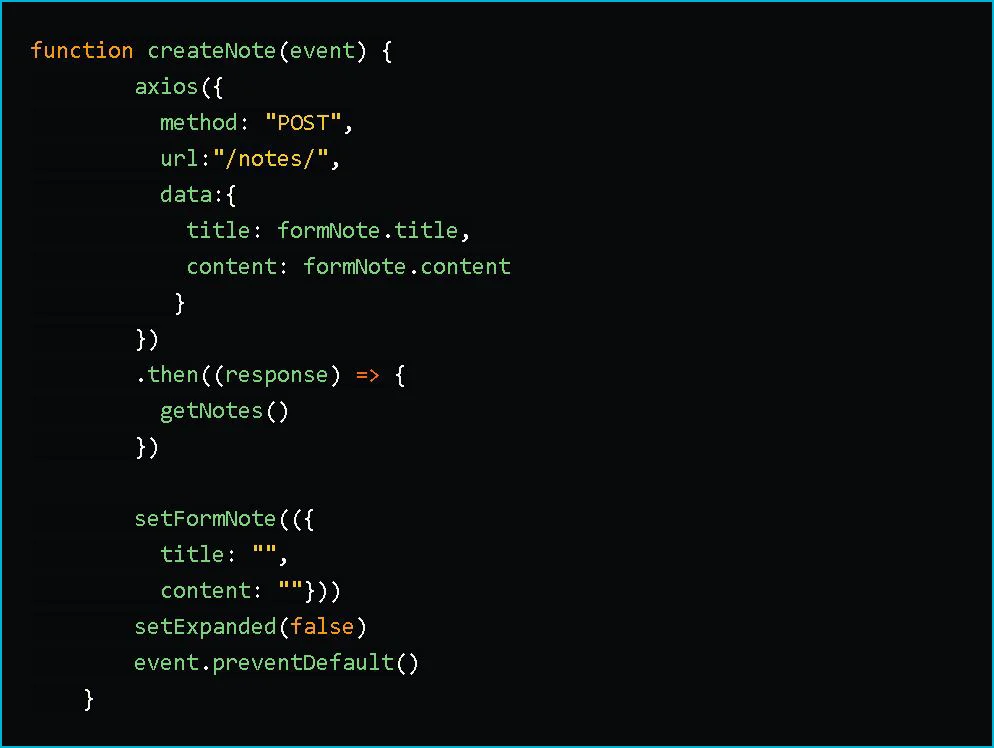
As a result, when the form is submitted, the text input and button revert to their hidden states.
This is the component Note.jsx in its final state.
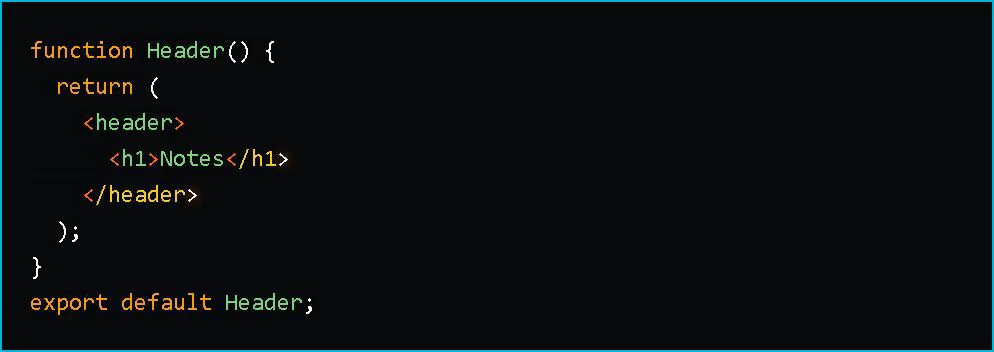
Header.jsx
In the components folder, create a new Header.jsx component. This is where our header elements will be stored.
Footer.jsx
In the components folder, create a new component Footer.jsx to hold our footer elements.
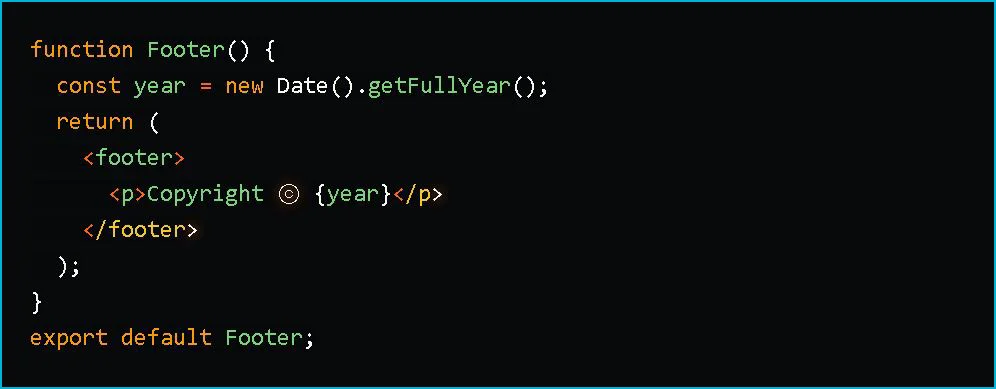
In this case, we simply call the Date().getFullYear() method to obtain the current year and pass it to the p element in our footer.
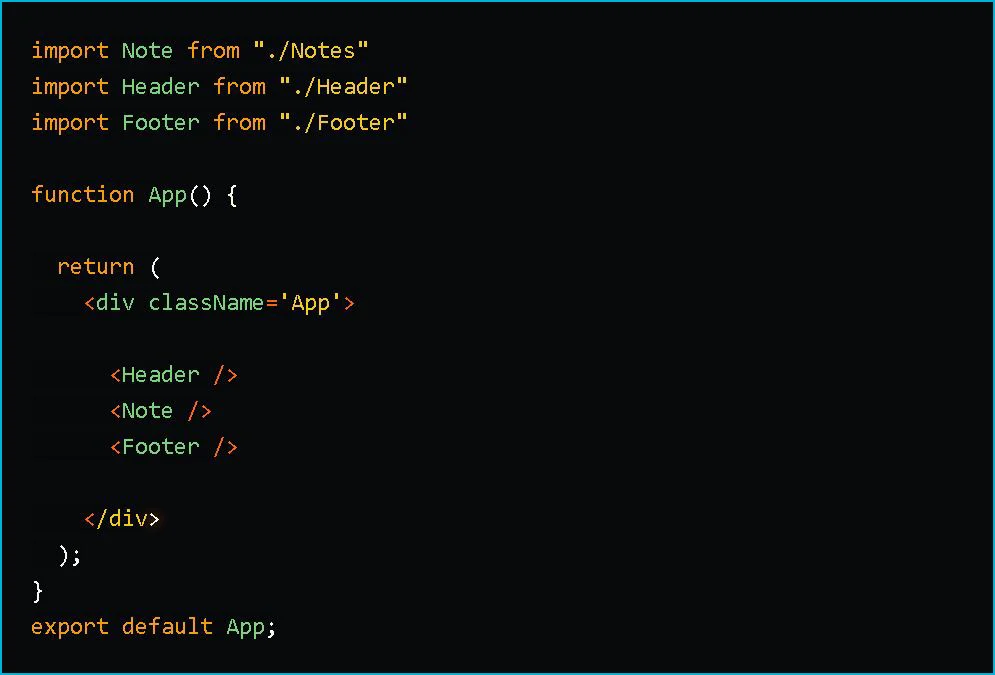
App.jsx
The Header and Footer components must be imported and called in the App.jsx file.
CSS
The CSS codes can be found in the GitHub repo; the classNames were already included while we were building the application.
We have finished developing the Notes Application with CREATE, READ, and DELETE functionality.
You can now experiment and then have fun with your application.
To run it, do the following:

then go back to the project1 directory where the manage.py file is located.
Lastly, we run:
Work with world leading tech businesses
We connect high-performing software engineer talent in the Philippines with some of the world’s leading and most innovative Tech companies.
Submit CV
Author